CT5106 Environment Art


My first idea for my environment was to do a lord of the ring inspired ruined castle Dol Guldur and Minas Morgul. I was going to make it look evil looking with green lighting and crooked distorted trees and spikes.
I did a basic white box in unreal, and found this picture below of a German castle and decided to base the structure like it, where i would have the castle on the edge cilff a walk way going to it.


i found it very difficult to imagine the environment without modeling it so I redid the white box which gave me a better idea of what it was going to look like. but I was still struggling to make the pieces fit to together in a modular way. as I needed the pieces to have different levels of damage.


After I had model most of pieces I was going to need, I started to figure out the style of modeling and texturing I was going to go for. Decided that I was going to go for a stylised look by using zbrush to make the highs and giving the textures a paintily look using filters in substance. I mainly used the trim dynamic brush in Zbrush to give a nice look on the edges, and then i used a variety of other brush i brought online to give the stone crack effect. https://3dex.gumroad.com/l/stylizedbrushes?layout=profile.


I made several assets for the castle some of which I was very happy with, but i was really struggling to give a uniform look to everything, especially the wall piece which couldn't find a stone wall texture that I liked that matched the other pieces, and brushing on the stone detail didn't work either. so after a few day of hassle. decided to restart the project going for the makeshift house theme instead of the ruins.
I wanted to make with a cyberpunk theme for the environment as am I huge fan of the game and genre.


The image above gave me and idea to make the house out of old shipping containers. It also reminded me of a area in the cyberpunk called the badlands that is a desert area full of rusty makeshift house so I decided to set the environment there and create another mood broad to help.

I didn't begin in unreal for this environment as I find it really hard to visual it without modeling it. I created two containers and a further 32 models using the unreal character for size reference. I had ideas for more but decided to get the current ones in unreal before making more.


To make the final version of the models am going to use subdivision high to low modeling.

I've done this type of modeling before on a previous project. so I knew the workflow and had write done the process no a post it note on my desk, this really helped speed up the process of modeling and kept a constant look for the models.
Below is the work flow I used to create the model.
1.create low
2.create high using control lines and subdivision and add any floaters.
3.do UVs for low
4.bevel edges of low
5.check for ngones
6.Apply one soft smoothing group over model.
7.Bake in substance


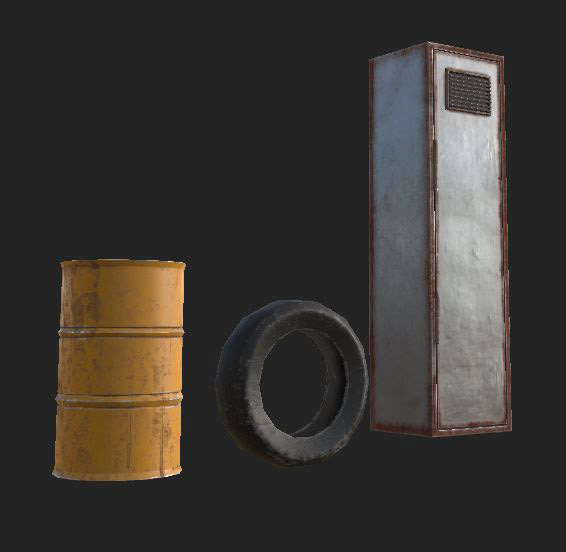
For the textures i really tried to think about what above and below surface of the model. for the shipping containers I put a base steel on the bottom then a paint layer then a rust and dirt layer. also made some graffiti alphas in Photoshop.
I exported the bigger object texture at 4k like the containers, the medium objects like pipes and desk as 2k and final the small object like the bottles and cans at 1k.


All buttons on keyboard were bake using floaters. The writing was done using alphas


I used emissives a lot as I thought it would give an atmospheric scene and its very classic to have neon light in a cyberpunk scene.


After I had got most of my assets in unreal, I started to play with the lighting but couldn't get it too look nice, so I used this video https://www.youtube.com/watch?v=1LfiYtKDsac&t=678s to completely rebuild my lighting from the ground up.

I made some terrain in world engine machine, and put it in unreal. but I didn't like it as it made it look baron and empty and felt that my environment would be better without it and would be better as a small scene as the house is meant to be a trailer park type area. it also created weird lighting issues the change the look of the lighting.

My most difficult model to make was my air conditioning unit, as I had to find a way to make a circle hole in a box and create a mesh in front of the fan, which I did by putting a seen through mesh texture on a plane. this did mean I had to create two of the same material in unreal and make one of them translucent.


I experiment with baking and floaters with this model as I didn't want to have just a boring bare box and I didn't want to use to many polys, so all the detail on the front and side is baked on floaters.

After I made and put the model in unreal, I made it spin using blueprinting in the level blueprint, using this video https://www.youtube.com/watch?v=D1pQrctHqEM&t=95s


Once I had finished making and putting all my models into unreal I was struggling to think of what else I could put in my scene, and one of my other class mate said to do some sort of bike. I want want to make a jet bike so i found the images below on art station for design reference.


I mainly based the design and engineering off a harrier hawker jump jet engine as its a real version of a hovering vehicle.


I separated the all the parts of texture to make easier to bake and texture. and based the textures off one of the art station pieces.

I had to use two texture maps, as there was lots of piece and I want to have lots of detail on the textures. I had a map for the big piece and one of the small pieces


Once I Put the bike into unreal I added some effects using the spotlights for the light from the engine, I then modified the starter content fire effect by getting rid of everything apart from the light distortion effect, making it look like the engine is giving off lots of heat. I also modified the smoke by messy around with the life time and thick of the smoke.
After showing my tutor he suggest I animate the bike by making the fan spin and making the bike hover slightly.

Added in two bones and then used the select tool in Maya to select all the vertexes in the fan and flood the skin weighting to 100%.


Next A class mate sent me this video on how make grass in unreal that you can change the colour of and make move in the wind Modular Environments are the Future - YouTube (skip to 4:30).

The video taught me how to create a mask in Photoshop, the green gradient is how much the wind will effect the grass.
I then had to create a model in Maya made out of two planes that in fit mask I created.
In the material editor I had to create some parameters that would control the colour gradient and parameters that would control the wind speed and strength, I could then instance the material and change how the grass look even once I had placed it

I placed all the grass using the foliage tool making it so the that the tallest grass was in the middle.

Next I create some rocks to fill up the scene using zbrush I used this video https://www.youtube.com/watch?v=rLFRX_p0WGo&t=44s and some brushes I brought https://orb.gumroad.com/l/nOkHw?layout=profile&recommended_by=library

I then Used the retopology tool in Maya to make the lows.


I used a modified sandstone texture from substance community with a fill layer with a added curvature generator no top to highlight the edges of the zbrush bake.


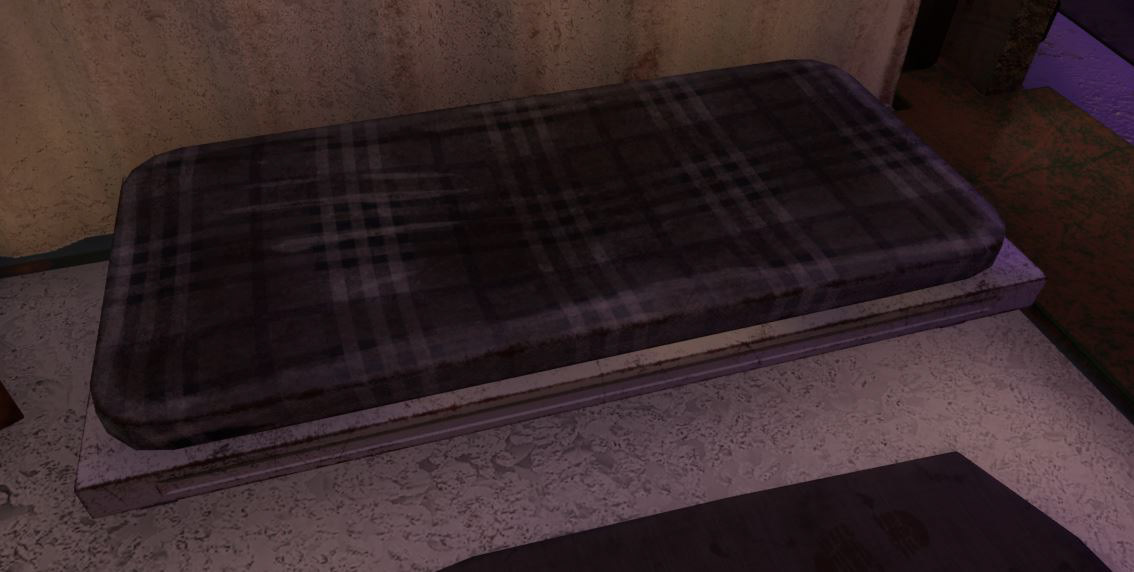
My tutor also told that my soft surface sofa, chair, and bed, didn't look very soft and that I should redo them in zbrush. so I did using similar technique for how I made the rocks.


For my photo scan I tired a lots of different object such as my chair, mouse, rustycan and a rusty pipe. using both kiri engine and polycam. but none of them work that well as they were either shiny and black and the scan couldn't understand what it was or they were in to much shade and next to another object so the scan wasn't complete enough for a full scan. finally I scanned one of my anime figures and the main body scanned fairly well.

I delete everything that didn't scan properly and create a simile platform to display the figure on. I used the low poly the scanning software made as it had the texture and removing the texture would take away a lot of the detail.


Finally I made bin bag in zbrush with help from this video https://www.youtube.com/watch?v=WfOnpCJgA-o and again used the retopology in maya to make the low


Thanks to the advise of my tutor I made the texture grey scale so that a could instance it in unreal and have different colored bin bags with the same texture.


Overall this is the best piece of work i have ever made and I am very proud of it, but it could be improved greatly mainly by making it more optimized. I would do this by putting more models on one texture sheet about 4-6 and also using a maximum of 2k textures.